This month we reflect on all we have to be grateful for. At the top of our list are our families and the little ones in our lives! It will be great to spend some extra time together over the holiday break.
Need an activity for that long afternoon? We pulled together three easy, creative projects that are appropriate for any age. Taking time for art is great for your body, mind and soul and when you do it together you’ll be making memories too.
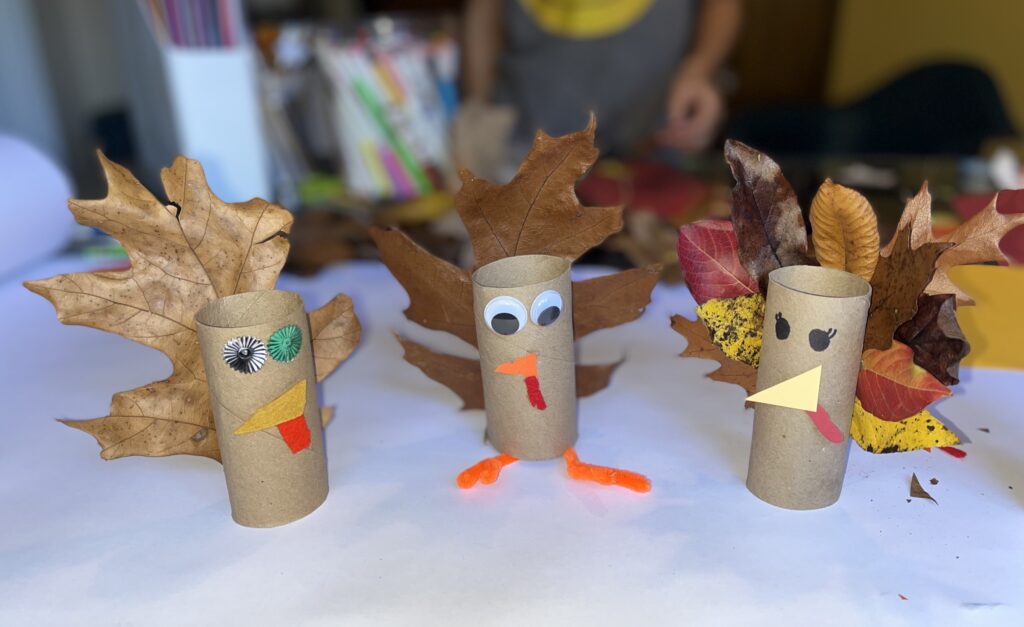
Turkey “Leftovers”
These cuties use some recycled and found objects. My kids love this project so much they asked to do it again this year!
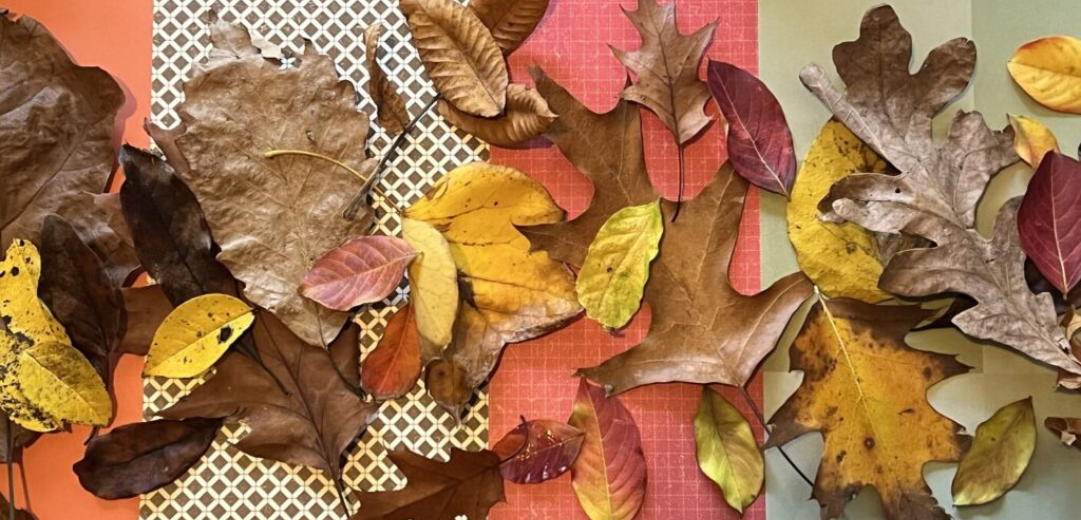
Throw on your coats and head outside for a quick walk to gather some leaves for the turkey’s tail feathers. While you’re out, crunch through the leaves (or rake up a little pile and jump in), enjoy the crisp smell of the leaves and see how many you can catch as they fall. Collect a wide variety of shapes and colors to enjoy (or identify) and listen to your kiddos as they wonder at nature.
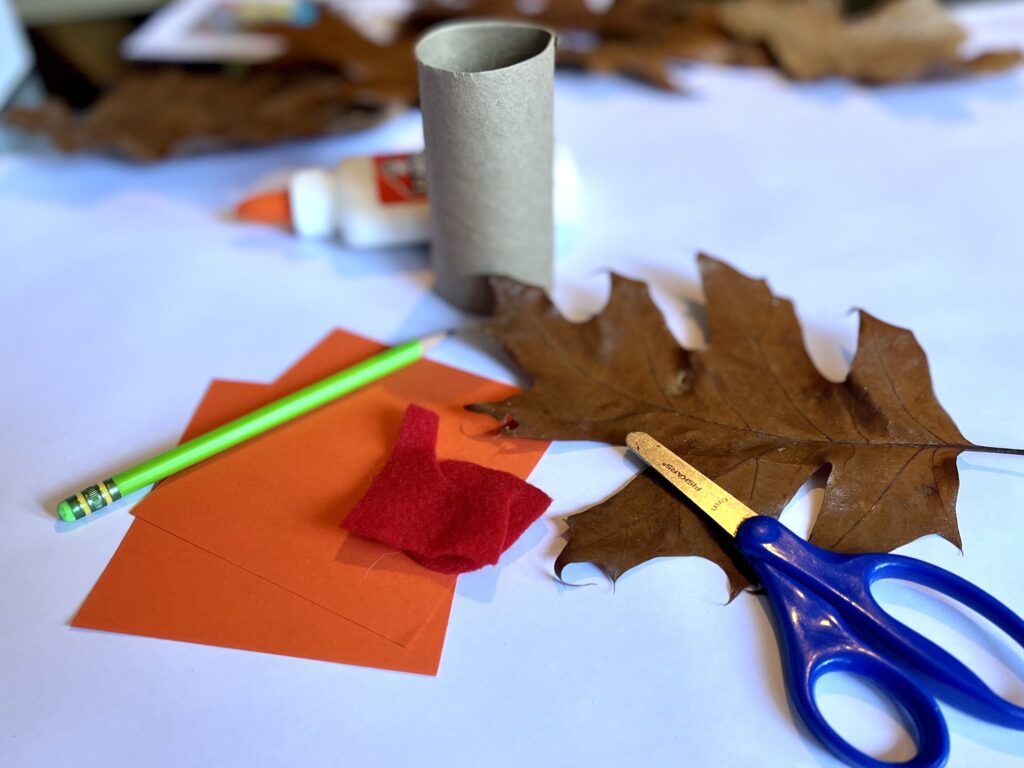
Supplies: After you head back inside, grab a toilet paper roll out of the recycle bin. You’ll use it as the base for this little gobbler. You’ll also need colored paper or felt, glue, scissors and a pencil.
Instructions:
- Beak & Snood/Wattle: Time for a quick turkey anatomy lesson—to put it simply, the snood is the worm-like extremity near the beak and the wattle is the flappy part under the beak. Using your creativity, draw these shapes onto paper. Cut out and glue onto the toilet paper roll. Optional: use markers, patterned paper or felt.
- Eyes: So many options here…draw them on with a marker, use googly eyes, beads, sequins, or bits of natural materials like tiny rocks or seeds. Choose two and glue onto the roll.
- Feathers: Select one leaf or several leaves and secure them onto the back of the toilet paper roll. Glue works best but requires patience while it dries. Tape will work too.
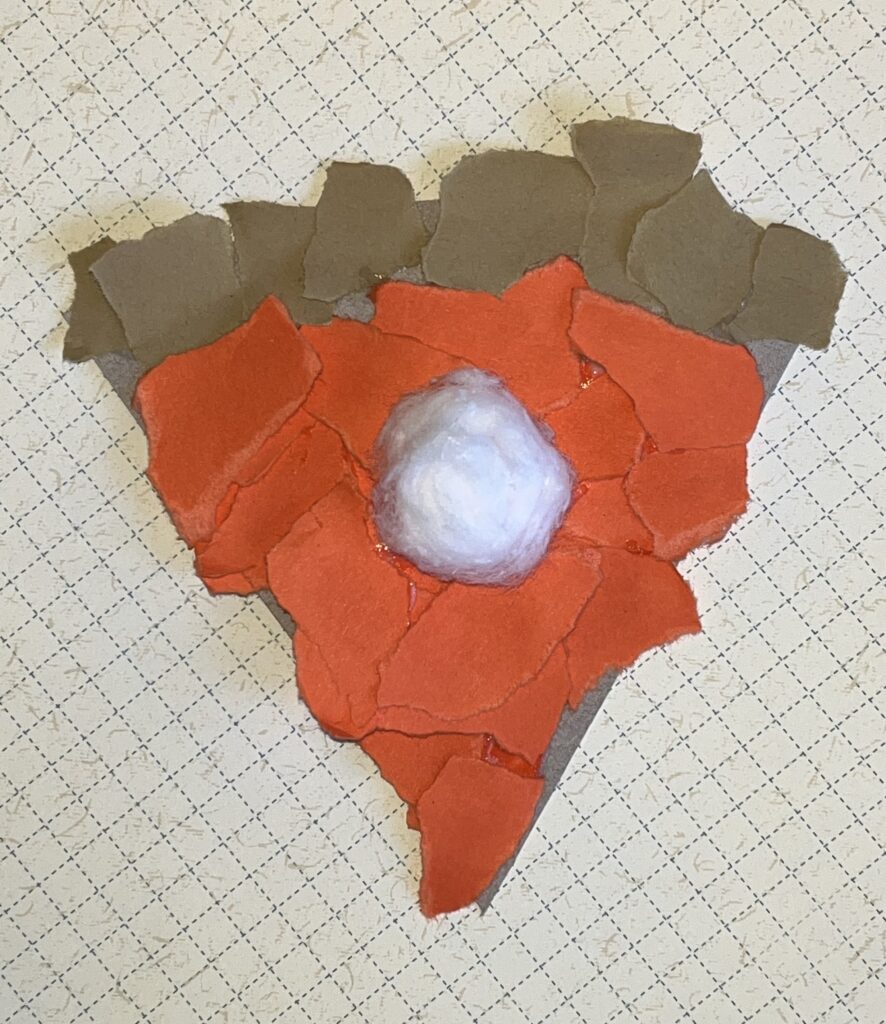
Sweetie Pie
This little pumpkin (or sweet potato) pie project whips up in a jiff and could easily be made in bulk and used for name cards at each place setting!
What’s for Thanksgiving dessert? My favorite is pumpkin cake roll made by my Mom! I love it covered in whipped cream and served chilled right out of the freezer. Pumpkin pie is another favorite, but I like that at room temp…also covered in whipped cream. Kids love to talk about their favorites. Spend some time discussing your student’s favorites and maybe enjoy some (more) dessert together!
Supplies: You’ll need heavy paper, orange & tan colored paper, pencil, scissors, glue, and cotton balls.
Instructions:
- For the base of the pie draw a triangular wedge shape onto heavy paper or thin cardboard (back to the recycle bin because that old cereal box will work perfectly) and cut out.
- Tear one-inch pieces of the orange and tan papers.
- Glue the orange papers to completely cover the base. Next, you’ll glue the tan pieces to the end of the wedge for the crust.
- Cotton balls make perfect whipped cream! Use one whole, or if you need a smaller one, pull it apart and gently roll it. When you’ve got the perfect shape, simply glue it on the top and you’re done!
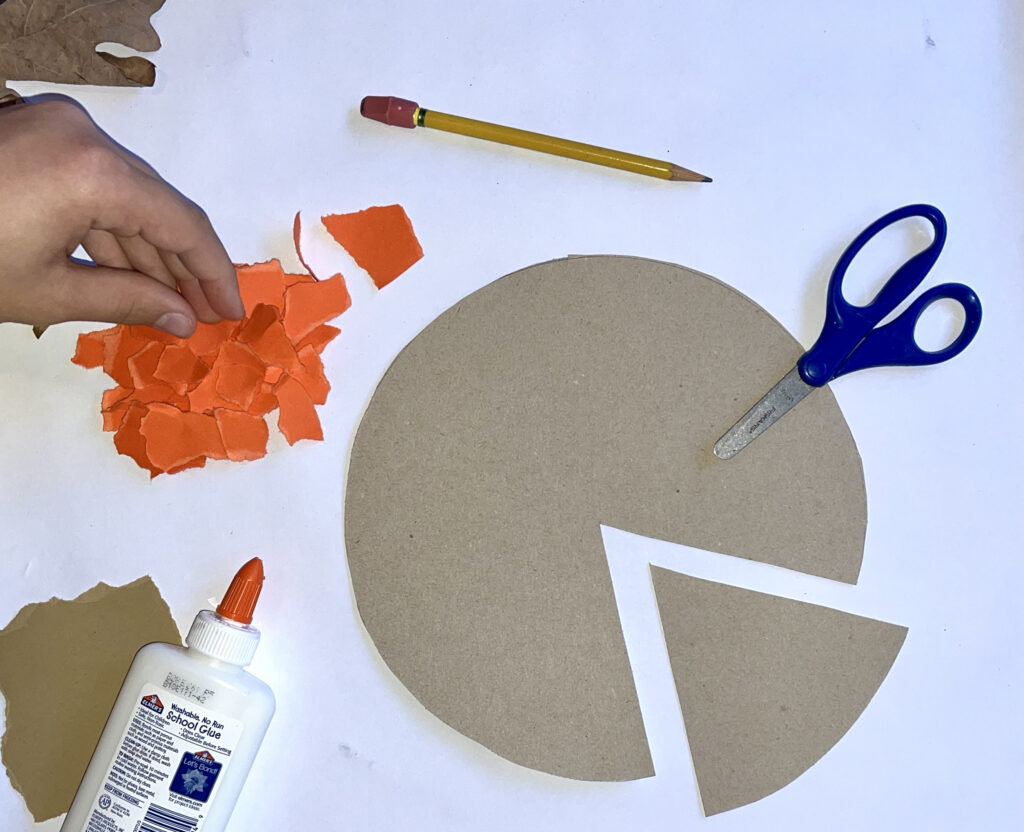
If you’d like to make multiple slices quickly, you could use a paper plate as your base, or trace a plate onto thin cardboard, cut out, and decorate the entire circle at once. After the glue dries, cut out the wedges and glue the cotton on top. Add a name to each slice and place at every place setting on the holiday table.
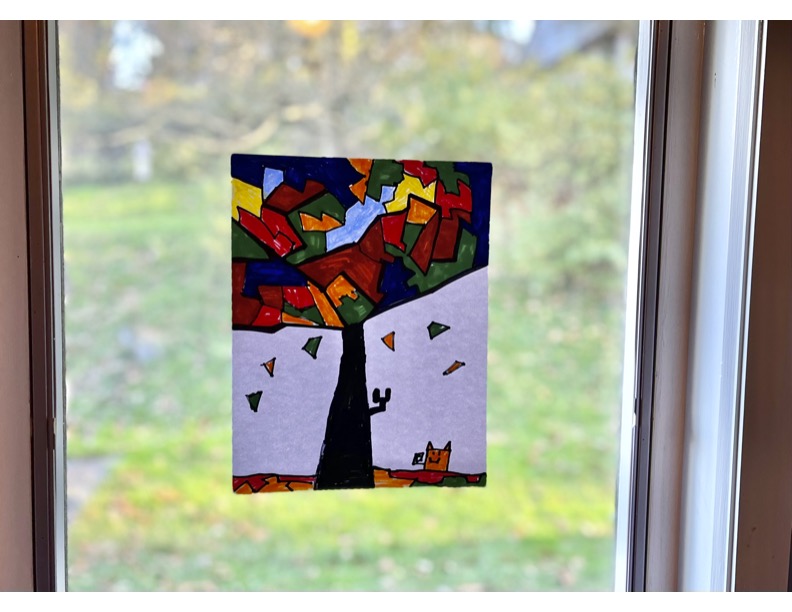
Geometric Autumn Tree
Bring the beauty of the season indoors and hang this cubist-inspired tree in your window where the colored leaves will shine!
First, gather around the table and make a list of all the things everyone is thankful for. Hang it nearby to help everyone to remember the blessings of the year.
Supplies: paper, pencil, ruler, colored markers (or crayons), black marker.
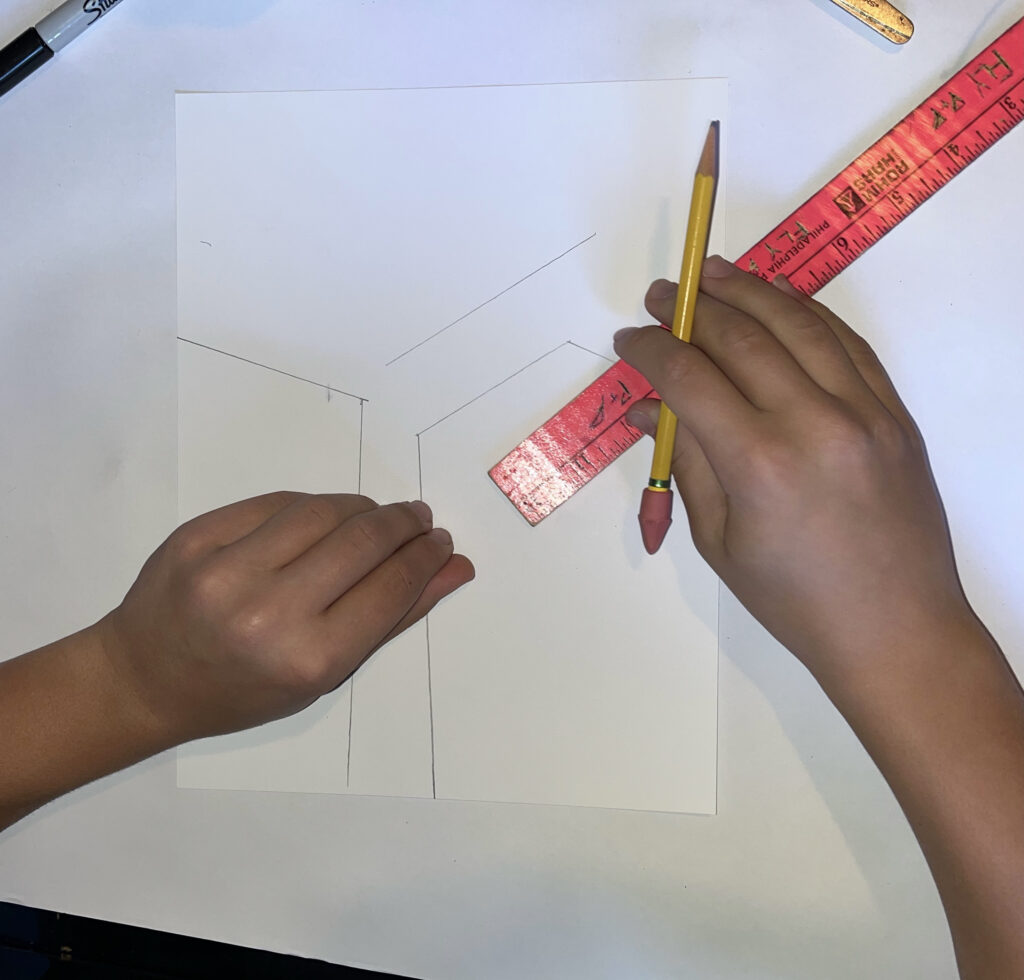
Instructions:
- Using a pencil and ruler, draw two lines for either side of the bottom trunk base. You’ll stop about half way up the paper.
- Next you’ll draw the branches. About 5 or 6 work best and you’ll draw two lines to outline each one. A ruler helps to keep the lines straight. Split them out into thinner twigs near the ends.
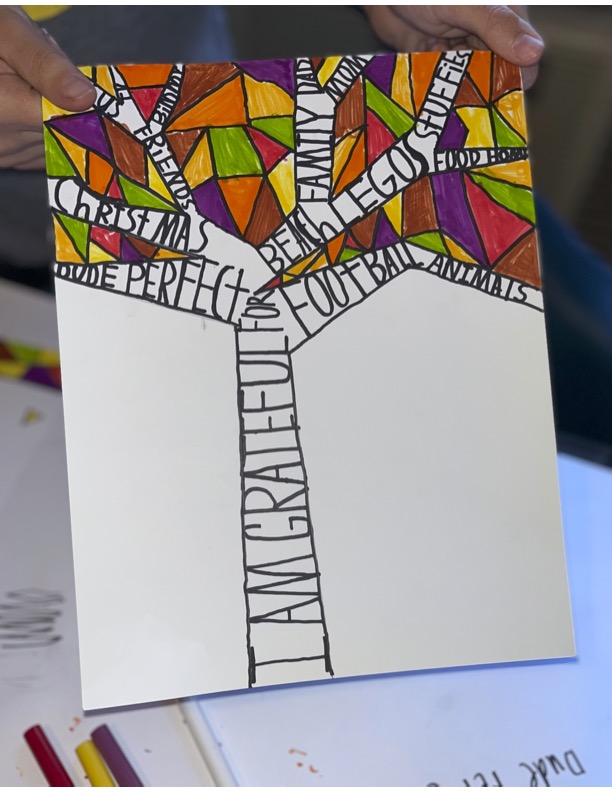
- This step has options:
- Younger ages can color in the trunk solid black or brown (if you have time and supplies you could paint).
- Older ages can use a black marker to write on the trunk and branches things they are thankful for (having the list you created nearby will help them with correct spelling). The words make it look like markings on a white birch tree.
- Time to add some color. In between the branches, you’ll draw in additional lines for the leaves. Color the leaves with a variety of colors to reflect the beauty of the season.
- Add some more geometric shapes to the bottom and color in for fallen leaves.
- Finish the artwork by adding in a few falling leaves mid-air, thin branches on the bottom trunk, or a fun geometric woodland critter.
Be sure you have your kiddos sign and date their artwork.
We hope you have some precious time together…and what’s cuter than pulling out those adorable hand-made keepsakes to display next fall? Post images of your artwork to our Facebook page so we can enjoy it too!
Happy Thanksgiving!
Andrea