Have you ever wanted to capture a moment in time? Whether it’s to preserve memories, reflect on growth, or simply create a fun project with friends or family, a time capsule is a perfect way to do just that. Now is a great time to build one so you can open it next summer.
In this blog post, we’ll walk you through how to create a time capsule that’s meaningful, safe, and exciting to revisit in a year.
📦 What Is a Time Capsule?
A time capsule is a container filled with items that represent the present moment, meant to be opened at a specific time in the future. It’s like sending a package to your future self! While some people bury theirs for decades, we’re focusing on a more short-term version: one to open in the summer of 2026.
📝 Step 1: Decide the Purpose
Ask yourself: why are you making this time capsule? Having a clear purpose will help guide what you put inside and how you present it.
- To reflect on personal growth?
- To mark a milestone (graduation, a move, a relationship)?
- As a family or classroom activity?
- Just for fun?
📁 Step 2: Choose Your Container
You don’t need anything fancy, but make sure the container is:
- Waterproof and airtight (Tupperware, metal tins, or sealable plastic boxes work great)
- Durable enough to last a year
- Labeled with a “Do Not Open Until [Month] 2026” tag
If storing it indoors, a closet or top shelf will do. If burying it outdoors, you’ll need something more weather-resistant—consider vacuum-sealed bags inside a waterproof bin.
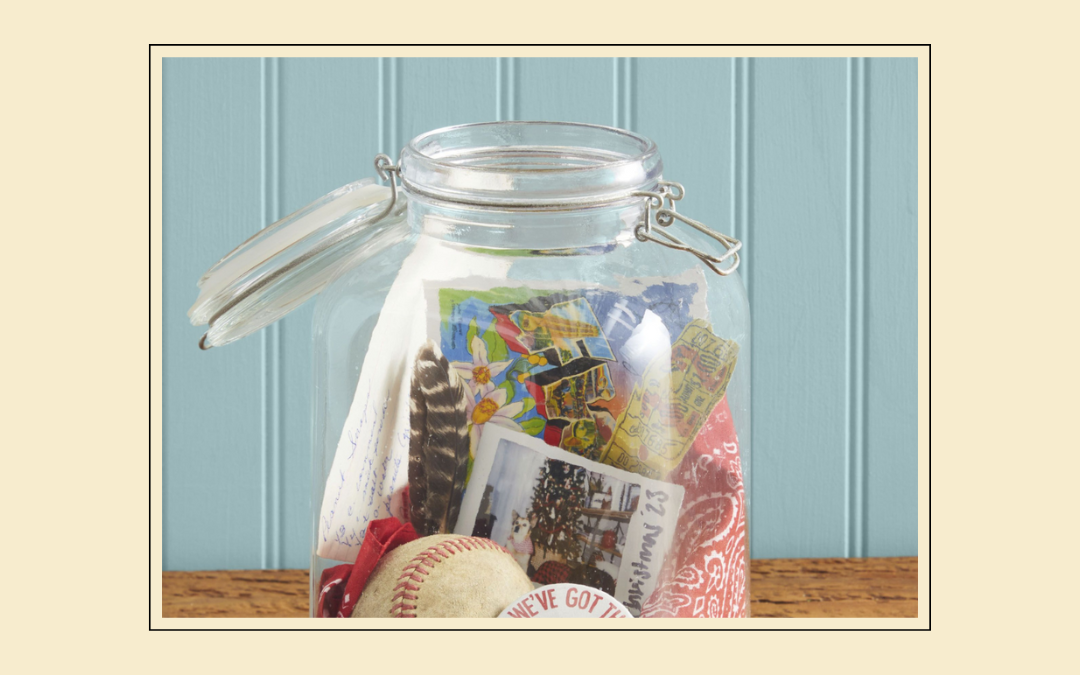
🧠 Step 3: Gather Your Contents
This is the fun part! Choose a mix of personal, cultural, and creative items that represent you or this moment in time. Some ideas:
- A letter to your future self
- A playlist or list of current favorite songs
- Photos or printed screenshots
- Newspaper headlines or trending hashtags
- A prediction sheet (e.g., “In one year, I think…”)
- Small trinkets or souvenirs
- Drawings or journal entries
- A price list of groceries or gas
- A note from friends or family
Tip: Avoid perishable items. Stick to things that won’t decay, melt, or attract bugs.
🧴 Step 4: Seal and Store It
Once your items are in the container:
- Seal everything in plastic or ziplock bags if you’re worried about moisture.
- Close the lid tightly and label it with the open date.
- Store it somewhere safe and out of reach—or, if you’re feeling adventurous, bury it in your yard or garden (just note the exact location!).
Optional: Set a reminder on your phone or calendar for next summer, so you won’t forget.
📆 Step 5: Make the Unveiling a Celebration
When the time comes to open your time capsule next summer, make it a moment:
- Invite the people who contributed
- Film your reactions
- Reflect on how much has changed (and what stayed the same)
- Write a follow-up letter to continue the tradition

🎯 Final Thoughts
A one-year time capsule might seem short, but you’d be surprised how much can change in just 12 months. It’s a simple, nostalgic project that invites reflection, creativity, and even a little mystery.
So go ahead—gather your memories, seal them up, and give your future self a gift worth waiting for. Happy time traveling!
Have you ever made a time capsule? What did you include? Share your ideas in the comments below!
Live.Laugh.Learn,
Jenn, Owner of Teacher Time To Go