Here’s a simple, step-by-step guide to making DIY Love Rocks—a fun and creative way for kids to spread kindness in their community!
Materials Needed
- Smooth, clean rocks (you can collect these from your yard, local park, or craft store)
- Acrylic paint (be sure the paint is not washable)
- Paintbrushes (different sizes for details)
- Permanent markers or paint markers (for writing messages)
- Stickers, gems, or sequins (optional for decoration)
- Mod Podge or clear varnish (optional, to seal the design)
- Paper towels or newspaper (to protect the work surface)
Instructions
1. Collect Rocks: If you’re using natural rocks, be sure they’re clean and dry before starting. Rinse them off and let them dry completely if needed.
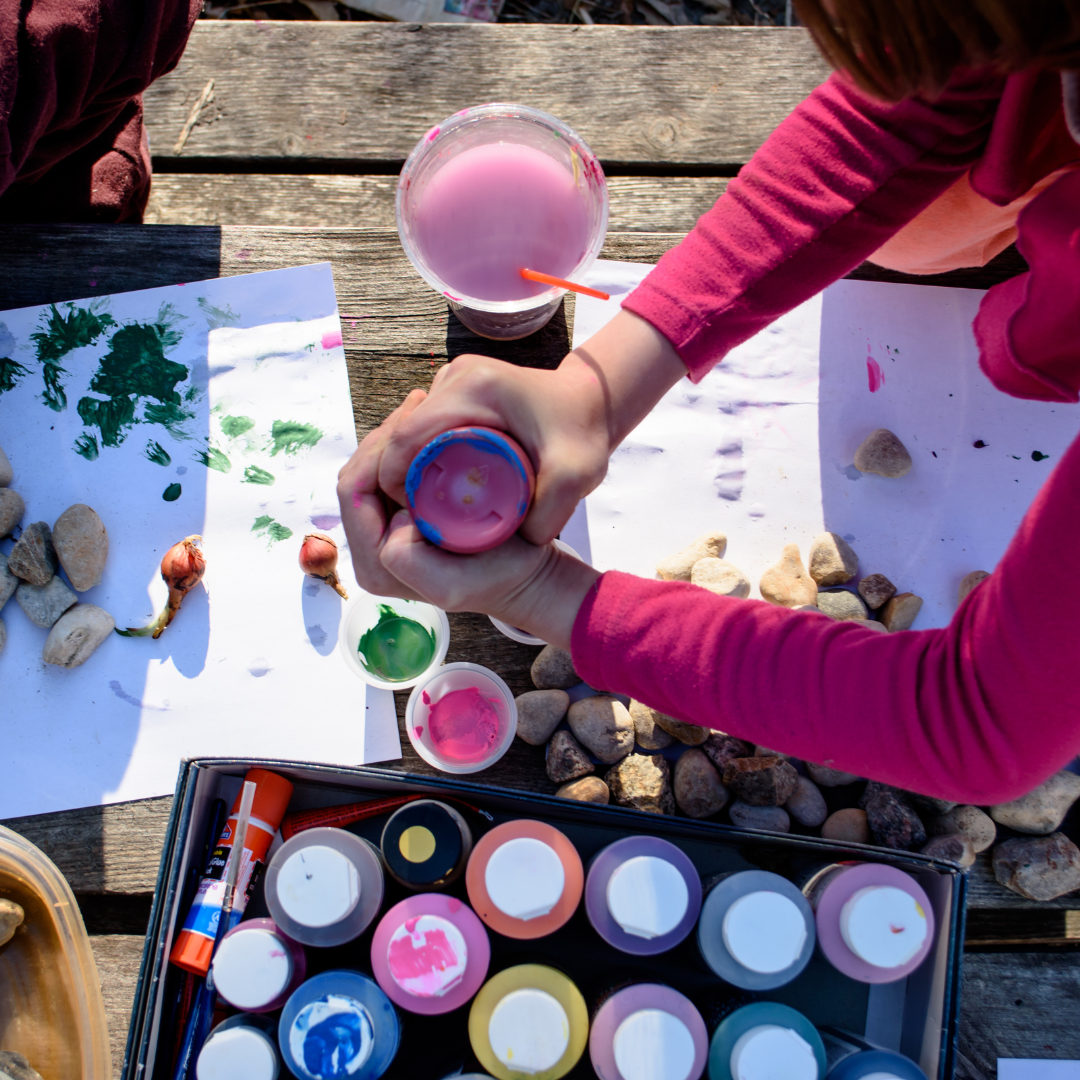
2. Prepare Your Workspace: Lay down some newspaper or paper towels on your workspace to protect it from paint. Set up the paints, brushes, and other materials nearby.
3. Paint the Rocks: Start by painting the entire rock with a base color. Popular choices for Valentine’s Day are red, pink, white, or pastel colors. You can either paint a solid color or create a gradient effect by blending two colors together. Let the first coat dry completely (you can speed this up by setting the rocks in the sun for a bit).
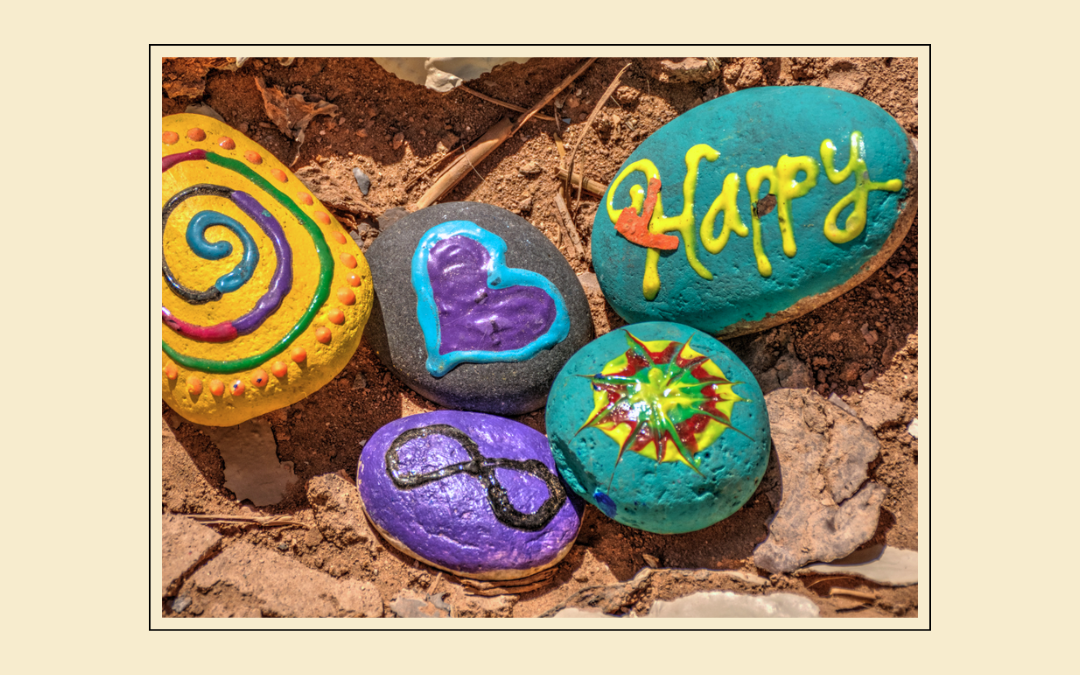
4. Add Decorative Designs: Once the base layer is dry, use a smaller brush or permanent markers to add cute designs. Be sure to let each layer dry before adding the next. Some ideas to get you started:
- Heart shapes, stars, or smiley faces
- “Love” or other positive words like “Kindness,” “Hope,” or “Joy”
- Small drawings, like flowers, animals, or X’s and O’s
5. Add Stickers and Gems: For extra flair (optional), you can add small stickers or gems. These can be hearts, flowers, or little designs to make the rocks even more fun!
6. Write Messages: Use a permanent marker (or a paint marker) to write a sweet message on each rock. The idea is to write something uplifting and positive that will brighten someone’s day. You can write things like:
- “You are loved”
- “You’re awesome!”
- “Spread kindness”
- “You matter!”
7. Seal the Design (Optional): If you want your design to last longer, you can coat the rock with Mod Podge or a clear varnish. This will help protect the paint and make the rocks weatherproof, so they can be left outside. Simply brush a thin layer of Mod Podge or varnish over the painted areas, then let it dry.
8. Spread the Love: Once your rocks are ready, it’s time to spread some kindness! You can leave the rocks around your neighborhood, in parks, or even on a friend’s doorstep. The idea is to make someone’s day brighter when they find the love rock! Consider including a note with the rock that says something like, “Take me home, and let me brighten your day!” or “I hope this little rock brings a smile to your face!”
Tips
- If you’re painting with younger children, you might want to focus more on the simple shapes and use stickers or stencils to make it easier.
- For extra fun, consider creating a social media hashtag (like #LoveRockChallenge) to encourage others to join in and share pictures of their love rocks online.
This DIY project is a great way to teach kids about kindness and creativity. Plus, it’s a fun way to give back to the community during February, whether for Valentine’s Day or just because!
Have you done this before? Any tips and tricks you would recommend?
Live.Laugh.Learn,
Jenn