Winter is a great time to explore science at home with kids! The chilly temperatures and winter wonderland outside make for perfect opportunities to make science “cool”! Whether you’re indoors on a snow day or just looking for a fun activity, these winter-themed science experiments are perfect for kids of all ages. Check out these simple, engaging experiments that will teach kids about freezing, melting, and the wonders of winter!
1. Homemade Snow: Exploring Snow
What You’ll Need:
- Baking soda
- Shaving cream (or cornstarch and water for a fluffier version)
How to Do It:
- In a bowl, mix 1 cup of baking soda with about 1/2 cup of shaving cream.
- Stir until it reaches a snow-like consistency.
- Let the kids play with it, squishing it, molding it into snowballs, or using cookie cutters to create snow shapes.
Science Behind It: This experiment mimics the texture of real snow. Discuss how snowflakes form in the sky and come together to create snow. Shaving cream represents water vapor, and the baking soda gives it a fluffy, cold feel.

2. Freezing Bubbles: Watch Bubbles Freeze!
What You’ll Need:
- Bubble solution
- Bubble wand
- Cold weather (best outdoors on a freezing day!)
How to Do It:
- Blow some bubbles outside on a cold, freezing day (temperatures below 32°F or 0°C work best).
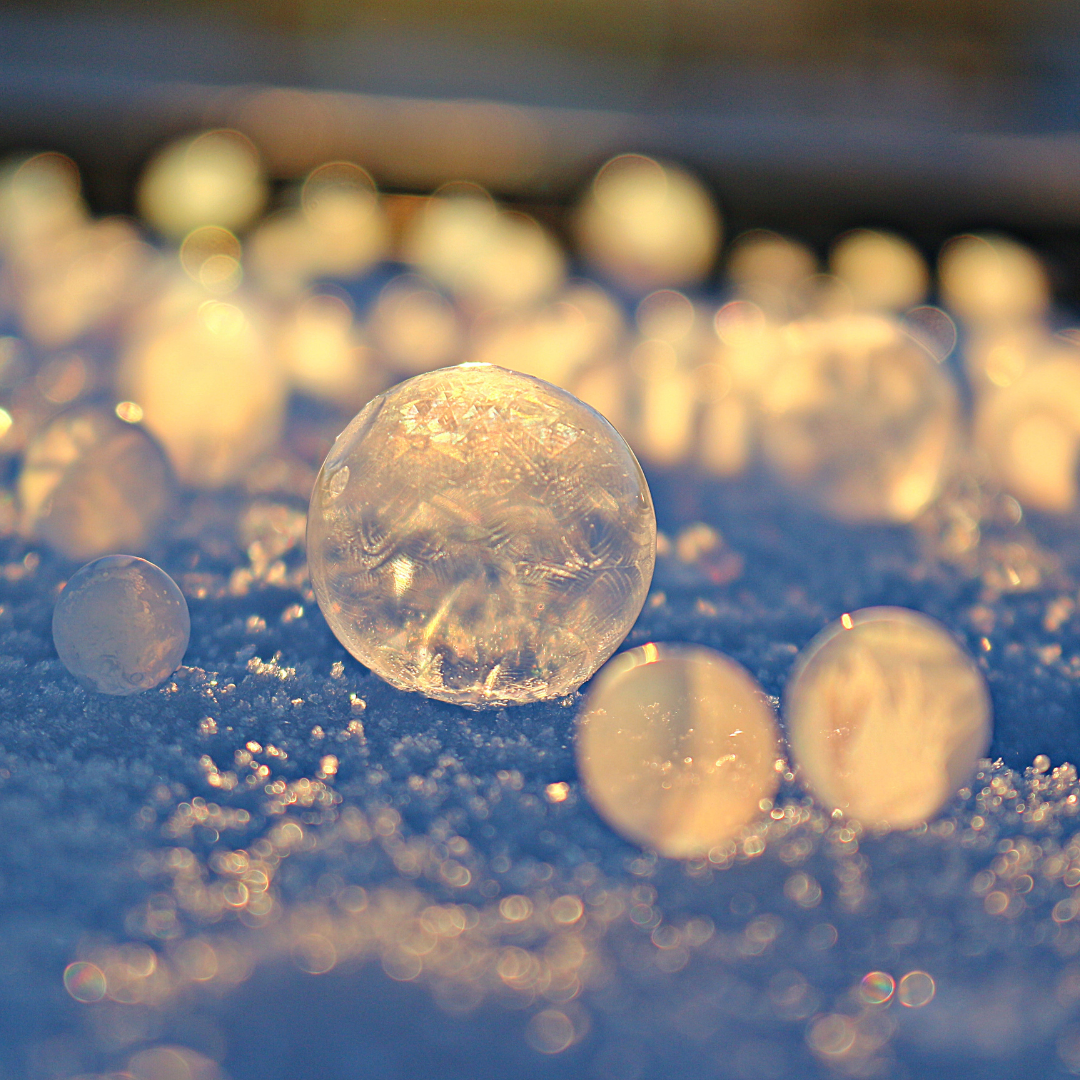
- Watch as the bubbles freeze mid-air or land and freeze into little ice orbs.
Science Behind It: This experiment shows how temperature affects liquids. When the air is cold enough, the water in the bubbles freezes before the bubble pops. Kids can experiment with blowing different size bubbles and observing how long they last before freezing!
3. Melting Ice with Salt: The Science of Ice and Salt
What You’ll Need:
- Ice cubes
- Salt
- Food coloring (optional)
- A tray or plate
How to Do It:
- Place a few ice cubes on a tray.
- Sprinkle salt on the ice cubes and observe what happens.
- For added fun, drop some food coloring on the ice cubes and watch the salt melt them in rainbow colors.
Science Behind It: Salt lowers the freezing point of water, causing ice to melt. This process is called “freezing point depression.” The food coloring adds a fun visual of how the water moves when the ice melts!

4. Make Ice Crystals: Growing Your Own Snowflakes
What You’ll Need:
- A jar
- Pipe cleaner (shaped like a snowflake)
- Boiling water
- Borax (found in laundry section of stores)
How to Do It:
- Shape the pipe cleaner into a snowflake and tie a string to hang it from a pencil.
- In a jar, mix three tablespoons of Borax per cup of boiling water.
- Stir until the Borax dissolves, then suspend the snowflake in the jar, making sure it doesn’t touch the sides or bottom.
- Let it sit overnight and observe the crystals that form on the snowflake!
Science Behind It: This experiment shows how crystals form as a solution cools and evaporates. Borax is a type of salt that forms crystal structures when dissolved in hot water and left to cool. Kids can compare the ice crystals to real snowflakes!
5. Frozen Berries Experiment: Freezing and Thawing
What You’ll Need:
- Fresh berries (or small fruits)
- Freezer
- A bowl for thawing
How to Do It:
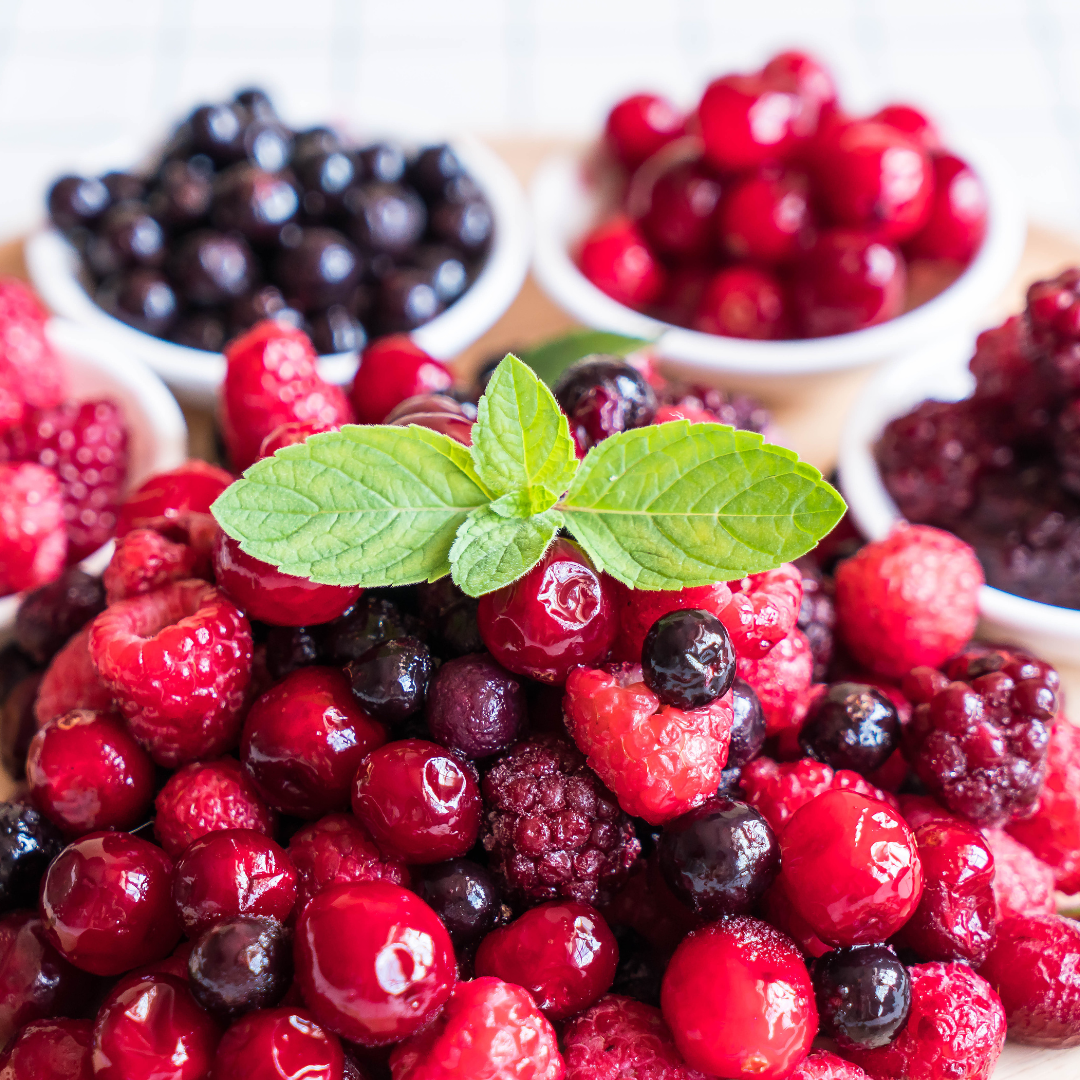
- Freeze fresh berries (or fruit) overnight in the freezer.
- The next day, take them out and observe the changes as they thaw.
- Discuss how freezing and thawing affect the fruit’s texture.
Science Behind It: Freezing changes the water inside the fruit into ice crystals. As the fruit thaws, the ice melts and the texture of the fruit may change. This experiment shows how freezing and thawing affect materials and can also lead into a discussion about how food preservation works.
6. Fizzy Snowstorm: How Carbon Dioxide Reacts with Snow
What You’ll Need:
- Baking soda
- Vinegar
- Snow (or cotton balls as a substitute)
- A tray
How to Do It:
- Place snow or cotton balls on a tray.
- Sprinkle baking soda over the snow.
- Pour vinegar on top and watch the snow fizz and react!
Science Behind It: This is a fun chemical reaction experiment! The baking soda (a base) reacts with vinegar (an acid) to produce carbon dioxide gas, creating a fizzing effect. It’s a great way to show how different chemicals interact.
These winter science experiments are a perfect way to keep kids engaged while learning about the wonders of winter and basic science concepts. Whether you’re exploring freezing and melting, the water cycle, or making your own snow, there’s something fun and educational for every child. Just make sure to have plenty of warm drinks on hand afterward to stay cozy while talking about all the cool science you discovered!
Have a science experiment you love? Tell us about it!
Live.Laugh.Learn,
Jenn


